On iOS 14 and iPad OS 14 – No apps needed!
The ability to Scan and Sign documents is on iPhone since iOS 11 but still not everyone knows about that. Even now on iOS 14 and iPad OS 14! Great thing is that it’s build into the notes app so it means you don’t need to download any other software. In addition to it right after you scan your documents you can also sign them and it’s so quick and simple.
Scan Documents
it works exactly the same on iPhone or iPad, and you can even do it from the Mac. For that you will need one of these devices with a camera anyway.
I’m going to create a new document and press the camera icon button at the top.

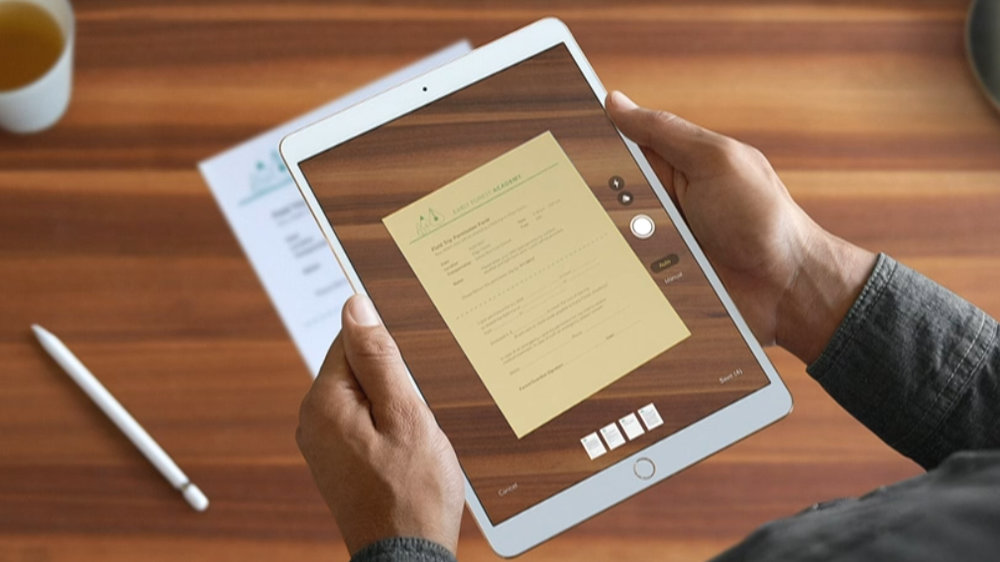
Press scan documents and you can see right away the document appears there. I don’t even have to be straight on top to capture it. But of course It’s better to make it as straight as possible to avoid any curve in the text and it will be easier to crop it after.

Now I can capture another document if I want. I can keep going to capture multi page documents. I can also switch from Auto to Manual to take a manual picture, but I like to have it on automatic it works well. The only reason to switch to manual is in worse light condition or if the shape of scanned document is not clear and it takes long time to recognise the border on automatic.

Choose Filter, Crop and Rotate
You have some other filtering options there as well You can choose gray scale or black and white but it’s not necessary to do even if you scan just a black and white text.

It saves it here as a document inside of the note. I can tap on it to go into it and then I will get more options. If I press the plus button at the bottom I can add another document. On the other side is a Trash icon for deleting. And on top you have again the Filters, Crop button so you can refine the edges and rotate it.

It’s a bit differently organised on the iPhone but the icons are the same.
Sign Documents
When you finish with the edits you can also sign it. It’s hidden under the share button at the top right corner. So press it and select the markup tool and you can use your finger to sign it.

Visit AppleOnlineAcademy YouTube Channel for video Tutorial, Tips & More
Then you hit Done and you can see it’s there and signed. I can use the Share button there as well to email this document. Send it by Messages, Drop Box. Any other method I want. Even create a PDF that will then appear in my iCloud Drive.
Now if you have an apple pencil with iPad Pro, you can just tap the screen and it immediately goes into Markup tools. I can sign with my pencil. So it makes it super simple if you’ve got one of these.

Open Notes app on the Mac
You can also start straight from the Mac to jump one step to transferring the document to the computer from other devices. Open notes, create a new one and press this icon and it gives you option to choose picture from photos or scan from other devices connected through iCloud.

When you select the device it will open up iPhone or iPad camera and that take a picture, and after you save it and it appears right in the notes app on the Mac and you can work with it here. It’s handy to do it from Mac straight away
But I definitely prefer to use iPad for it, If you have this option it’s the most convenient and the signature looks far better using the apple pencil than drawing with you finger. And if you have notes synchronised with iCloud it will automatically appear on the Mac as well.

If you want more of these simple tutorials let me know in the comments, and feel free to tell me what exactly would you like to see next.
And If you want to really Master all of the techniques of macOS I recommend you to check the new Complete Course – Master your Mac in 2020 which I believe will be very beneficial for you, and you will not only discover so many hidden features but also take your productivity to a different level far ahead.

No responses yet